How to Change Your Oil in 5 Easy Steps
Changing the engine oil is a fundamental maintenance task that many vehicle owners consider doing themselves. It is a process that involves several steps, each with its own considerations. For individuals looking to reduce routine maintenance expenses, learning to replace engine oil at home can be a practical option. However, it requires attention to detail, the right tools, and a clear understanding of the vehicle’s specifications. This article provides a structured checklist of the process and outlines important safety precautions to observe.
Before beginning, it is essential to recognize that automobile maintenance involves multiple variables. The steps described here are general guidelines, and specific vehicles may have unique requirements. Always consult the owner’s manual for the vehicle’s recommended oil type and viscosity, filter specifications, and any special instructions. Additionally, local regulations may have specific disposal requirements for used oil, which are important to follow. This article aims to present the process in a clear and neutral manner, focusing on the methodology rather than guaranteed results.
Preparation
Proper preparation is crucial for a smooth oil change experience. Begin by gathering all necessary materials and ensuring the vehicle is on a level surface. You will need a new oil filter that matches the vehicle’s make and model, the correct amount and type of engine oil recommended by the manufacturer, a drain pan, a socket wrench set, an oil filter wrench, and safety gloves and goggles. Additionally, having rags or absorbent material on hand is useful for spills.
It is also important to warm up the engine for a few minutes before draining the oil. Warm oil flows more easily, which allows for a more complete drain. However, the engine should not be overly hot to avoid burns. After running the engine, wait a few minutes to let it cool slightly. This step reduces the risk of injury and improves the effectiveness of the drain. Before starting, make sure the car is securely parked and the parking brake is engaged.
Step 1: Drain the Old Oil
With the vehicle lifted using a jack and jack stands if necessary, locate the oil drain plug underneath the engine. Place the drain pan directly beneath the plug to catch the oil. Using the appropriate socket wrench, carefully loosen the plug while holding it firmly to prevent it from dropping into the pan. After loosening, remove the plug by hand, allowing the oil to flow into the pan. Be cautious as the oil may be warm.
Allow the oil to drain completely, which can take several minutes. While the oil is draining, inspect the drain plug washer for any signs of wear. If it appears damaged, it may need to be replaced. Once the flow has stopped, clean the area around the drain hole and reinstall the plug, tightening it to the manufacturer’s torque specification. Over-tightening can strip the threads, so using a torque wrench is recommended.
Step 2: Replace the Oil Filter
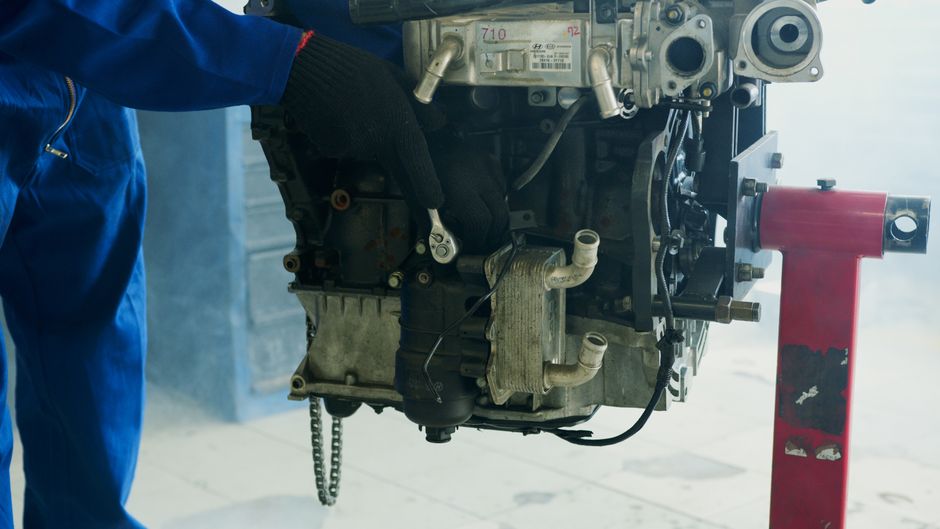
The oil filter is located on the side or bottom of the engine. Using an oil filter wrench, loosen the old filter in a counterclockwise direction. It may be tight, so steady pressure is needed. Once loosened, remove it carefully, as it may contain a significant amount of oil. Place the old filter in a bag for disposal.
Before installing the new filter, apply a small amount of fresh oil to the rubber gasket on the top of the filter. This helps create a proper seal and makes future removal easier. Screw the new filter on by hand until the gasket makes contact, then tighten it an additional three-quarters of a turn. Over-tightening can cause leaks or damage the gasket. Always refer to the filter’s instructions for specific guidance.
Step 3: Add New Oil
Locate the oil filler cap on the engine, typically marked with an oil can symbol. Remove the cap and insert a funnel to avoid spills. Pour the recommended amount of new oil slowly, checking the level periodically with the dipstick. It is easy to overfill, so it is prudent to add a little at a time. Once the oil is added, replace the filler cap securely.
After filling, start the engine and let it run for a minute. This circulates the oil throughout the system and fills the new filter. Then, turn off the engine and wait a few minutes to allow the oil to settle. Check the dipstick again to confirm the oil level is within the recommended range. If necessary, add more oil. Also, inspect under the vehicle for any leaks during this process.
Step 4: Check for Leaks and Dispose of Old Oil
With the engine off, inspect the area around the drain plug and oil filter for any signs of oil seepage. If any leaks are detected, address them before proceeding. This might involve further tightening or replacing a faulty gasket. It is important to resolve leaks promptly to prevent environmental contamination and engine damage.
Proper disposal of used oil is a legal and environmental responsibility. Many auto parts stores and service stations accept used oil for recycling. Store the oil in a sealed container and transport it to a designated collection point. Never pour oil down drains or onto the ground. Additionally, the used oil filter should be disposed of according to local regulations.
Step 5: Reset the Oil Life Monitor
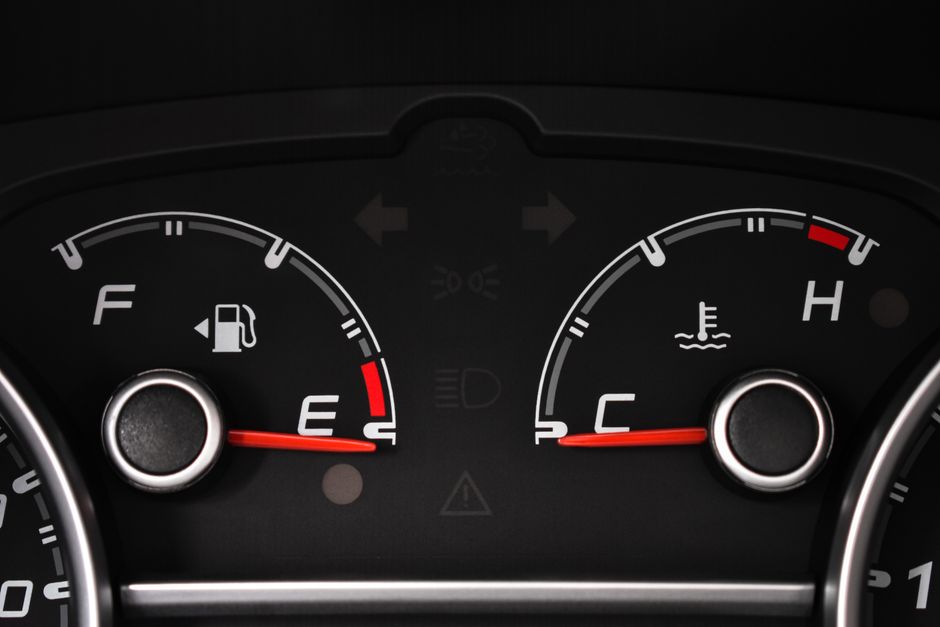
Most modern vehicles are equipped with an oil life monitoring system that tracks oil condition based on driving habits and mileage. After an oil change, it is necessary to reset this system so that it accurately reflects the new oil. The reset procedure varies by make and model, but it often involves a sequence of button presses on the dashboard or a specific combination with the ignition key. Consult the owner’s manual for the precise method.
Resetting the monitor is not mandatory for the vehicle to function, but it ensures that future maintenance reminders are based on accurate data. It also helps in tracking maintenance history. If the reset procedure is not performed, the monitor may continue to display a service reminder, which could be confusing. Taking the time to reset the system is a simple step that contributes to effective vehicle maintenance.
Safety Precautions and Final Checks
Safety should always be a priority when performing any vehicle maintenance. This includes wearing appropriate clothing and protective gear, ensuring the vehicle is stable, and working in a well-ventilated area. Never work under a car supported only by a jack; always use jack stands. Also, be mindful of hot surfaces and fluids, as they can cause burns.
After completing the oil change, take a moment to review all steps and ensure everything is properly secured. Verify that the drain plug is tight, the oil filter is secure, and the oil level is correct. Start the engine and listen for any unusual noises that might indicate a problem. Regular maintenance, such as oil changes, are part of a broader vehicle care routine. The frequency of oil changes depends on the vehicle’s make, model, and driving conditions. Following the manufacturer’s recommendations and being attentive to the vehicle’s performance are key to maintaining its health.